
Adding a custom icon to your Salesforce tabs gives your org a personalized and professional touch. Follow these quick steps to make your tabs stand out with your own brand style!
🔹 Step 1: Upload Your Icon
- Switch to Salesforce Classic – Click your profile photo → Switch to Salesforce Classic.
- Open the Documents Tab – Click the “+” icon on the top bar → find Documents.
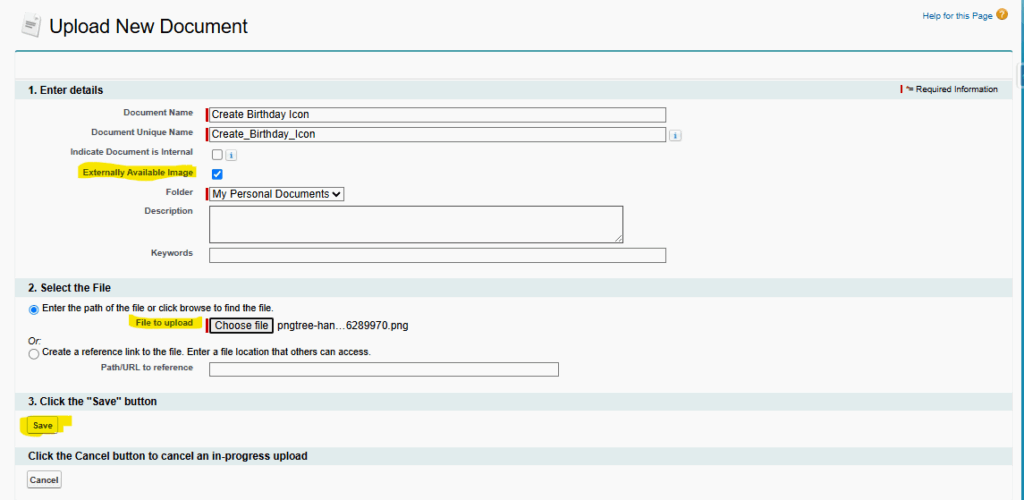
- Create a New Document – Click New, enter the Document Name, select a Folder, and check Externally Available Image.
- Upload Your Icon File – Choose your image (under 20 KB for best performance) → click Save.
🔹 Step 2: Assign the Icon to Your Custom Tab
- Switch back to Lightning Experience.
- Go to Setup → Quick Find → Tabs.
- Under Custom Object Tabs, click New (or edit an existing one).
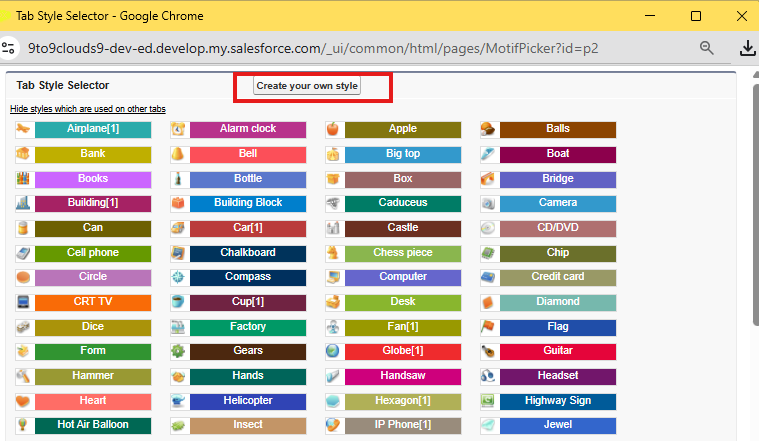
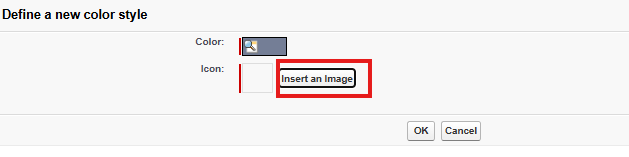
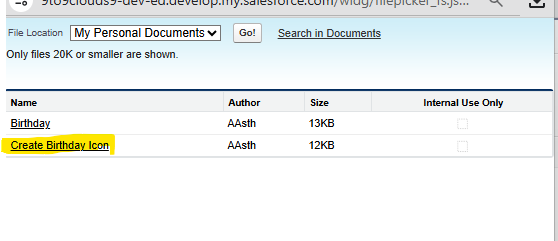
- Select Create your own style → choose the uploaded Document image.
- Click Save.
🎉 Step 3: View Your Custom Tab
Open your custom object tab in Salesforce — your personalized icon now appears beautifully beside the tab name!
