
HOW TO CHANGE Custom Field Language
In Setup > Quick Find box > Translation Workbench >Translation Language Settings >
Translate >User>Language
Step 1: Enable Translation in Setup Box
-
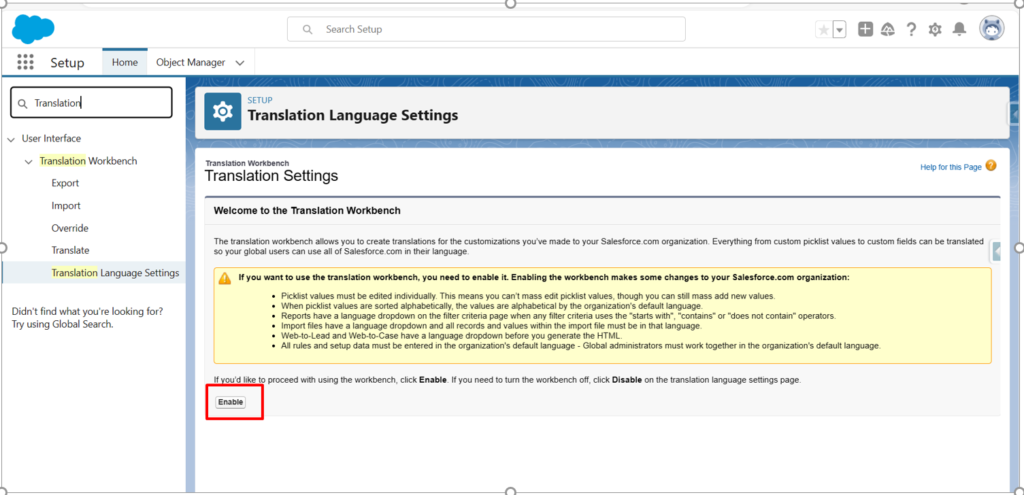
In the Setup menu, navigate to the “Translation Language Settings” .
-
Click on the option to enable translation
After Enabling Translation:
- “Once you have enabled translation in the Setup menu, click on the ‘Add’ option.”
Explanation:
-
“Clicking ‘Add’ typically allows you to add or configure specific translation settings for different languages.”
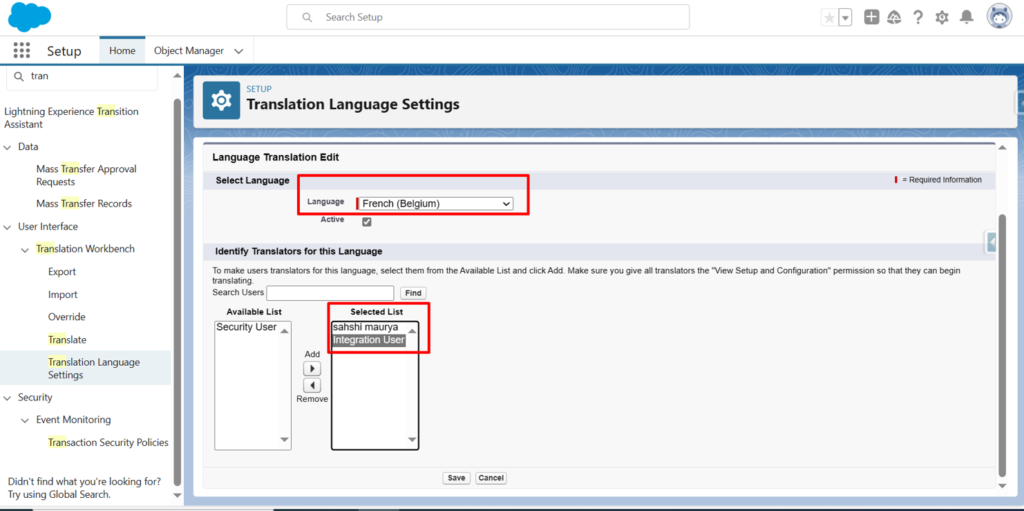
In Language – “Select the language for which you want to change the custom field label.”
In Selected list – Select which user we want to show this Language
Step 2— Move On Translate
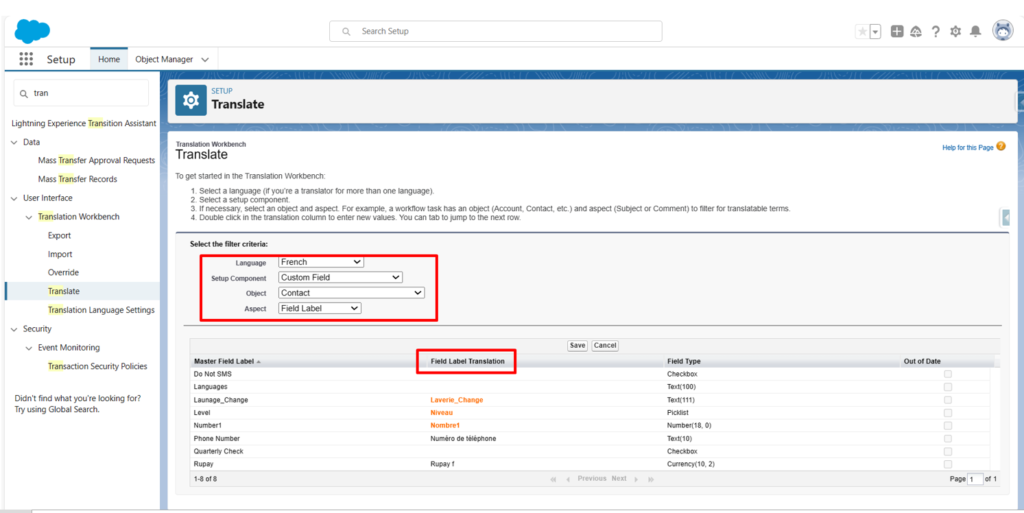
Language — “We select the language chosen by the user, and this Field Label Translation will be displayed to the user (For Exp :- French).”
Setup Component – “Here, we select where we want to translate the Custom Field.”
Object – we select which object we want to change (For Exp :- Contact)
Aspect – we select field label
Field Label Translation – Here we fill other language (which we want to show to user) save this step
Step 3 – In user –Language = French

save this step .